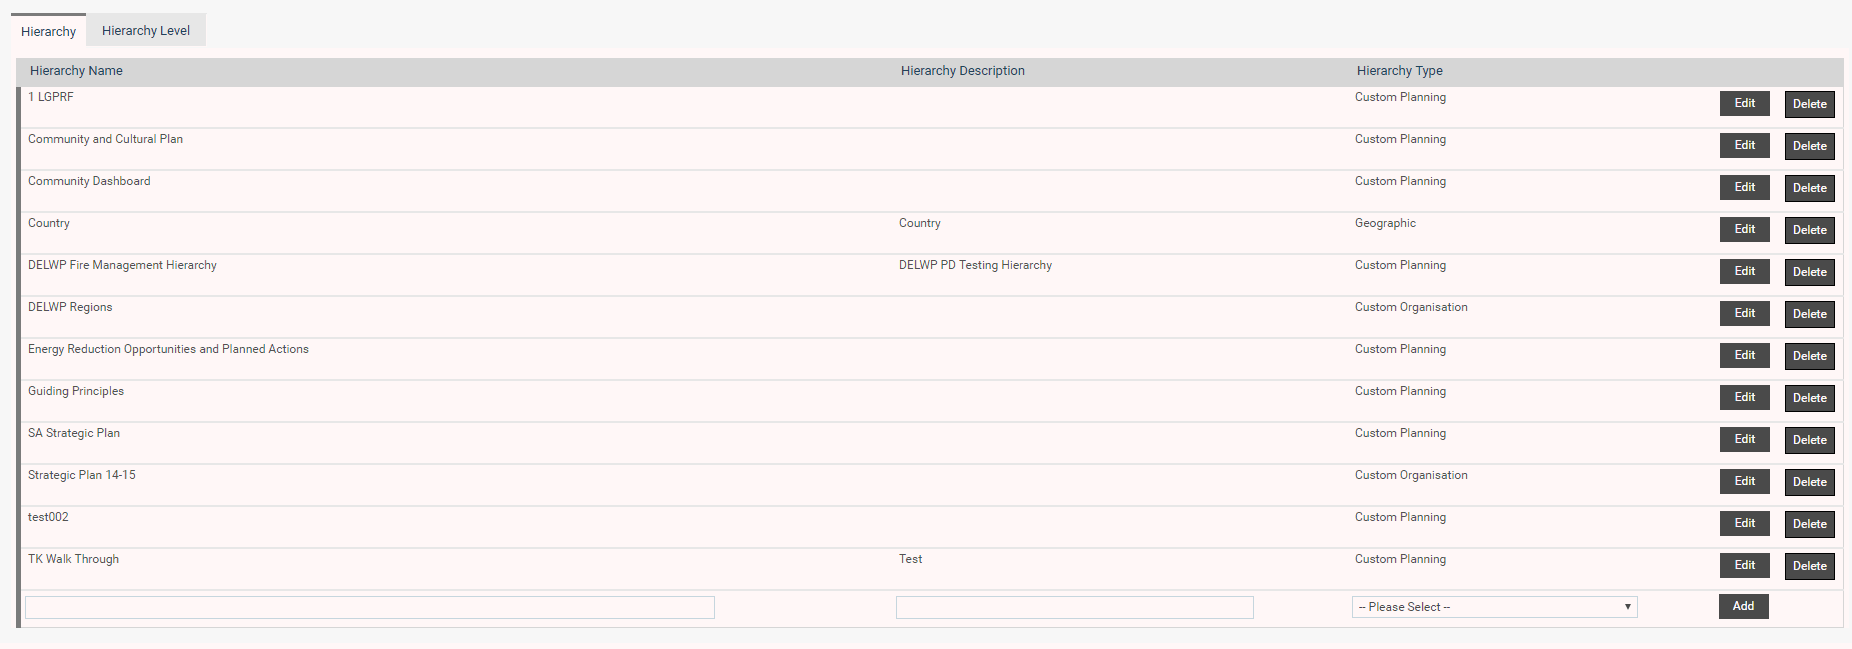
The Hierarchy Configuration area allows System Administrators to configure custom hierarchies with any number of levels without being restricted to the standard hierarchies provided by the system. You can navigate to this area through 'Custom Hierarchies > Hierarchy Configuration'.
You can create a new hierarchy or edit the existing hierarchy details using this tab.
Adding a New hierarchy
Define the name, description and type for the hierarchy under the relevant columns.

|
Field |
Description/Instructions |
|
Hierarchy Name |
Define a title for the new custom hierarchy. |
|
Hierarchy Description |
A brief description of the hierarchy. |
|
Hierarchy Type |
Select the hierarchy type from the drop down list (Custom Organisation/Custom Planning/Custom Human Resource/Geographic) |
Once you have completed the above step, click on the 'Add' button to create the hierarchy.
Editing existing hierarchy
Select the Edit option, amend the hierarchy name, description and type accordingly. Click on the 'Update' button.
You can define the number of levels along with level name and description under this tab.
STEP 1: Select the hierarchy from the drop down list.

STEP 2: Define the level names and descriptions according to the number of levels you require. Each and every level needs to be added using the 'Add' button.
STEP 3: Once you add a level, you will see a properties icon  added to that row under the properties column. Click on the properties icon to see a pop up window with properties list in which you can Add/Modify component properties accordingly. Items can be dragged and dropped from the property list to the component property area. Administrators can also modify the default settings of the properties selected for a particular component by clicking on the Edit button. For Custom Text Fields, only the ‘Data Type’ field can be edited.
Properties pop-up window is given below:

Copyright © 2014-2015 CAMMS Online Help. All rights reserved.
Last revised: September 04, 2018